Three.js images using the HTML5 File API
Anyone who’s read my latest blog posts will know that I’m a big fan of Mr doobs Three.js JavaScript 3D engine, so I won’t bang on about it any more than I have to. For my latest experiment I decided to mix the HTML5 File API, Three.js and a few images (demo here).
The File API allows a user to upload a file (an image in this experiment) to a web application simply by dragging it onto a designated “droparea”. Once dropped, you can manipulate the data any way you like. The API is able to handle multiple files natively, so just select all the files and drop them onto the area. No need for Flash uploaders or multiple browse boxes. Of course not all browsers support it (IE) and there are a few inconsistencies in the specification; but they will work themselves out over time.
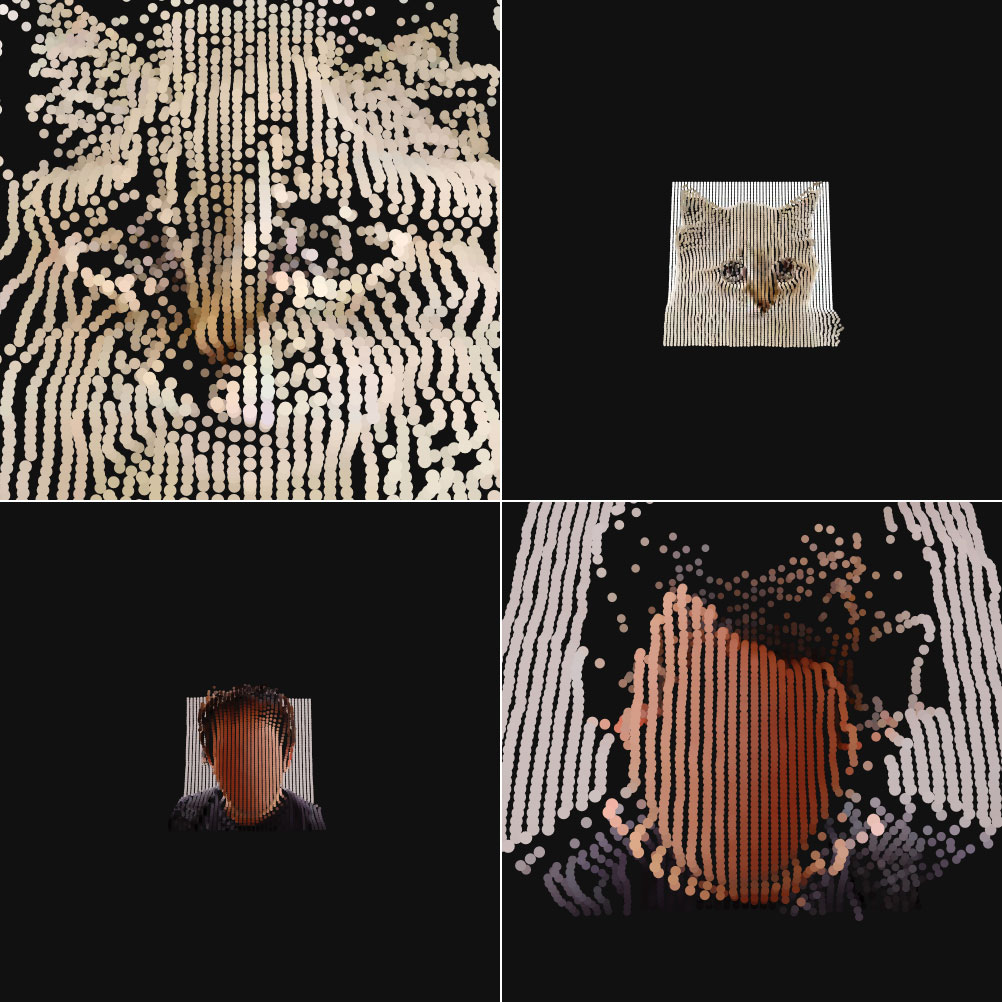
So what does the experiment actually do? Well it allows a user to drag an image onto their browser window which is then “uploaded”; the data is then passed to a canvas element and then this data is passed to Three.js to be plotted in 3D space. The X and Z-axis is plotted in the usual manner to represent the default 2D image using particles; the fun bit comes when you add the Y-axis. This is calculated by taking an average of the RGB values (greyscale) and plotting it accordingly. When using an image of a human face it’s amazing how accurate the 3D plot looks.
Due to the amount of data involved it is recommended that you use small thumbnail images when you try the demo, as larger images equal a larger number of particles. This is an initial version so I’m going to work on a way of dealing with larger images. This will probably mean ignoring a certain number of pixels when looping through the image data. Looking forward, since it can be done with a static image I see no reason why it can’t be done with a video, but that’s a project for another day!
Update: I’ve updated the demo slightly; as Mr.doob pointed out people may have tried to drag directly onto the render area which didn’t work. So now it does :)